OK so in order to get the stubborn f-ing broken frame rail out, I had to resort to barbarian tactics......
Tools used were:
BFH....
3 chisels
spot weld cutter
drill
dewalt grinder
sheetmetal shears
flourescent light
centerpunch
Big F-ing Craftsman screwdriver
Recipricating saw with long 18TPI blade(most useful tool)
prybar
wire wheel cup
wire brush
Bible
live chicken
hatchet
and a rosary.....
LOL
Now I know why this job costs soooooo much. My god. The damn thing broke in the middle and it was still quite solid. I ended up having to use the saw to cut some other stuff out to even get to it. Thank god those other pieces needed replaced afterall anyway. I will say that it could have been worse but at least I planned ahead and had the neccessary items. And to think I still have another one of these to take out and replace.
First I used the wire wheel to locate the spotwelds. Then, I used the spotweld cutter to remove the spotwelds as best as possible. Next, we broke free as many of those spotwelds as I could. The rest were treated to a good bashing with a hammer and chisel.... I had to cut the transition pan as it has an inside flange that has spotwelds on it.....can not get to those when they are inside of the brace....yep it got cut out instead of removed. The transition pan was crap anyway as it turned out. The wheelhouses were cut along the framerail also as they are being replaced, there was no need to remove nicely. After all was said and done the only portion that wasnt expected to be repaced was the transition pan. Next step is to grind down the spots where the new frame rail will attatch at. Then, rustproof, prep, prime the framerail and surrounding areas for the installation.
Pics:
Before Broken frame rail from back:
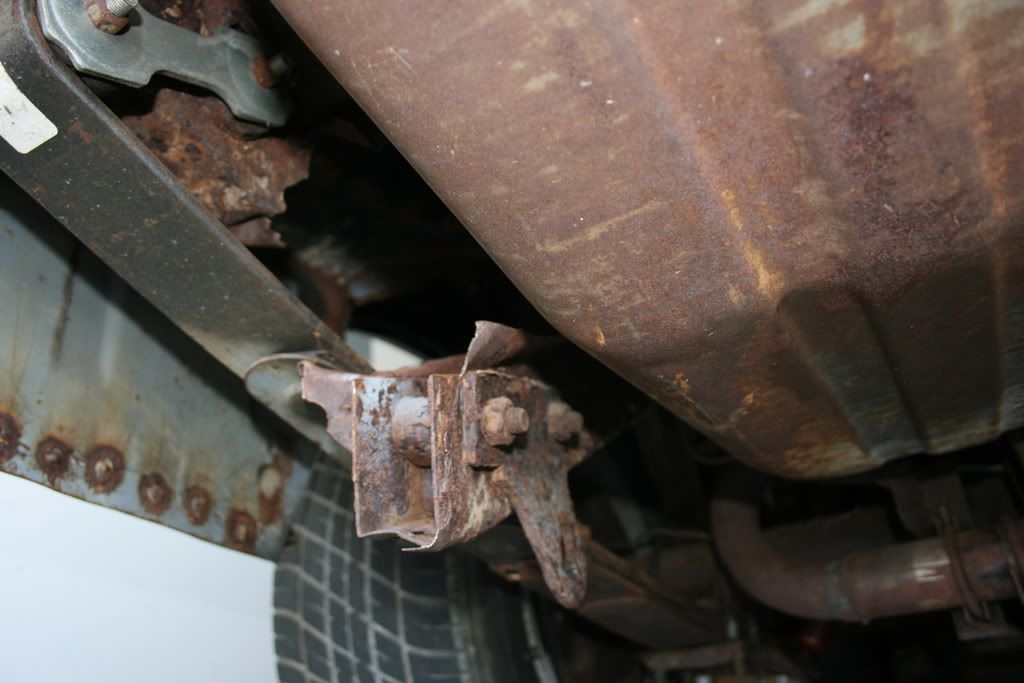
Before:
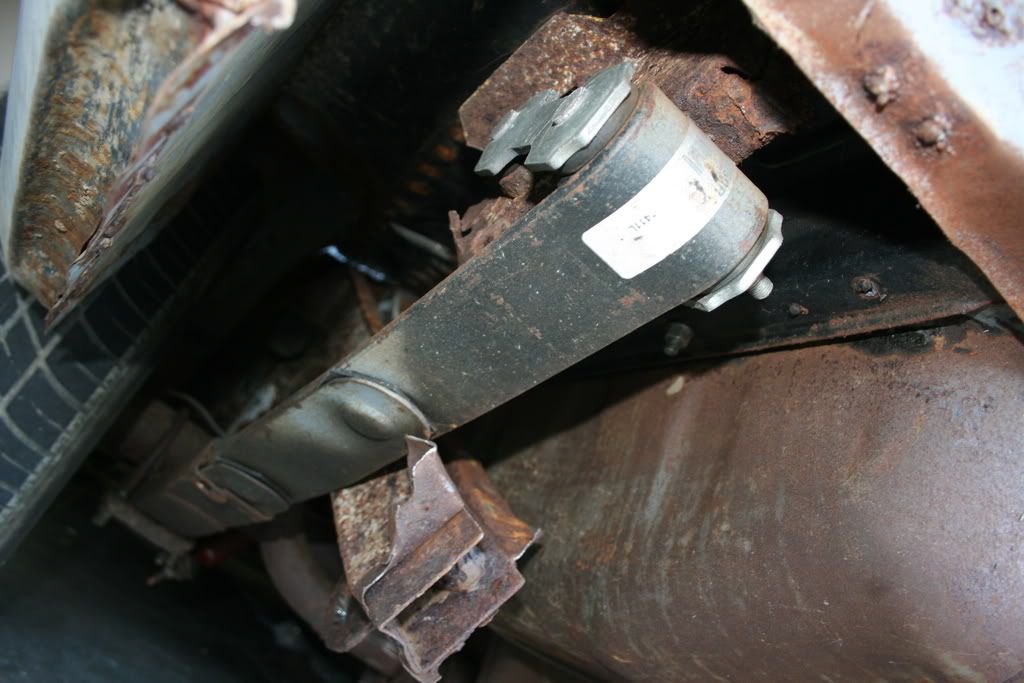
After with new Frame Rail sitting on the floor:
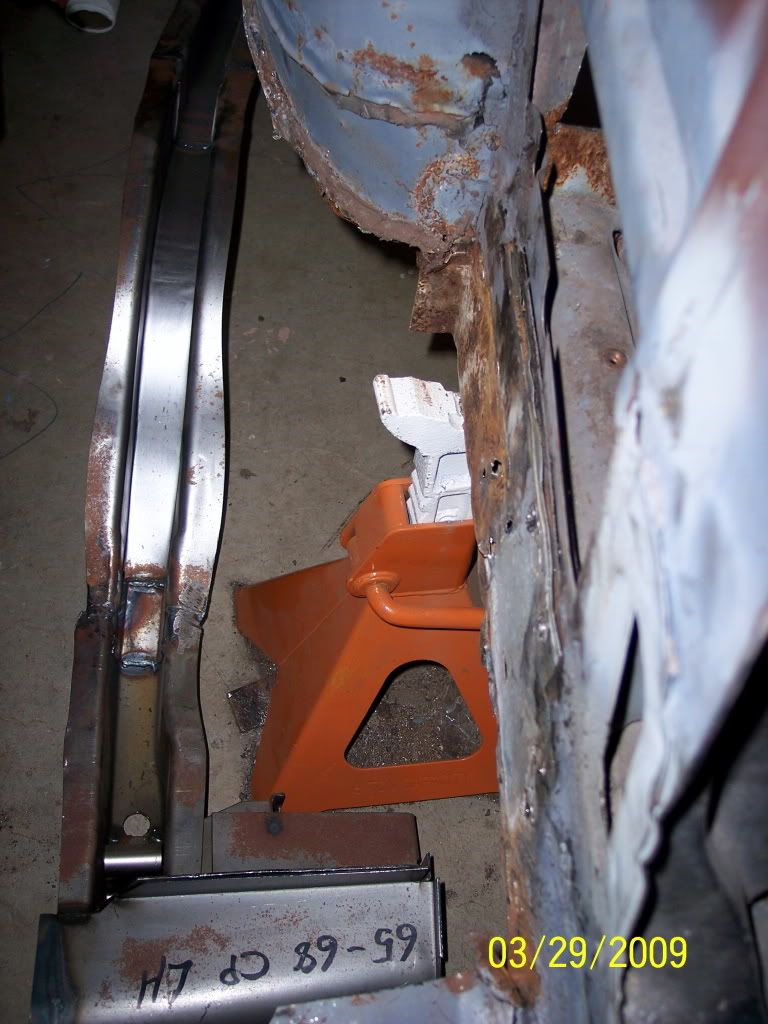
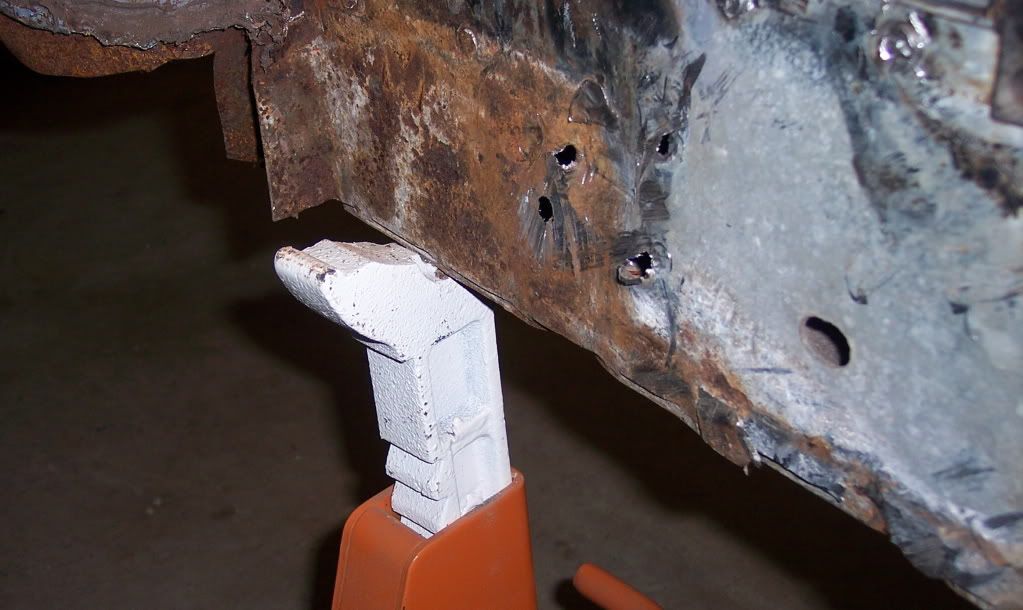
Rear drivers inside rocker panel where the new frame rail will attatch to....still needs ground down and prepped.:
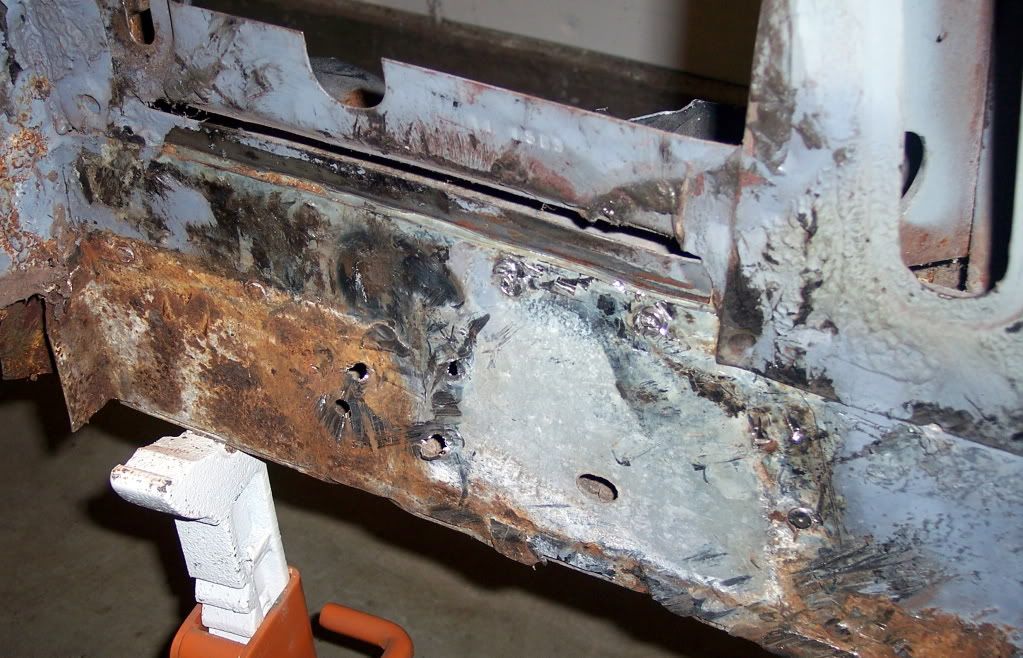
Same Area:
Tools used were:
BFH....
3 chisels
spot weld cutter
drill
dewalt grinder
sheetmetal shears
flourescent light
centerpunch
Big F-ing Craftsman screwdriver
Recipricating saw with long 18TPI blade(most useful tool)
prybar
wire wheel cup
wire brush
Bible
live chicken
hatchet
and a rosary.....
LOL
Now I know why this job costs soooooo much. My god. The damn thing broke in the middle and it was still quite solid. I ended up having to use the saw to cut some other stuff out to even get to it. Thank god those other pieces needed replaced afterall anyway. I will say that it could have been worse but at least I planned ahead and had the neccessary items. And to think I still have another one of these to take out and replace.
First I used the wire wheel to locate the spotwelds. Then, I used the spotweld cutter to remove the spotwelds as best as possible. Next, we broke free as many of those spotwelds as I could. The rest were treated to a good bashing with a hammer and chisel.... I had to cut the transition pan as it has an inside flange that has spotwelds on it.....can not get to those when they are inside of the brace....yep it got cut out instead of removed. The transition pan was crap anyway as it turned out. The wheelhouses were cut along the framerail also as they are being replaced, there was no need to remove nicely. After all was said and done the only portion that wasnt expected to be repaced was the transition pan. Next step is to grind down the spots where the new frame rail will attatch at. Then, rustproof, prep, prime the framerail and surrounding areas for the installation.
Pics:
Before Broken frame rail from back:

Before:

After with new Frame Rail sitting on the floor:

Rear drivers inside rocker panel where the new frame rail will attatch to....still needs ground down and prepped.:

Same Area:

