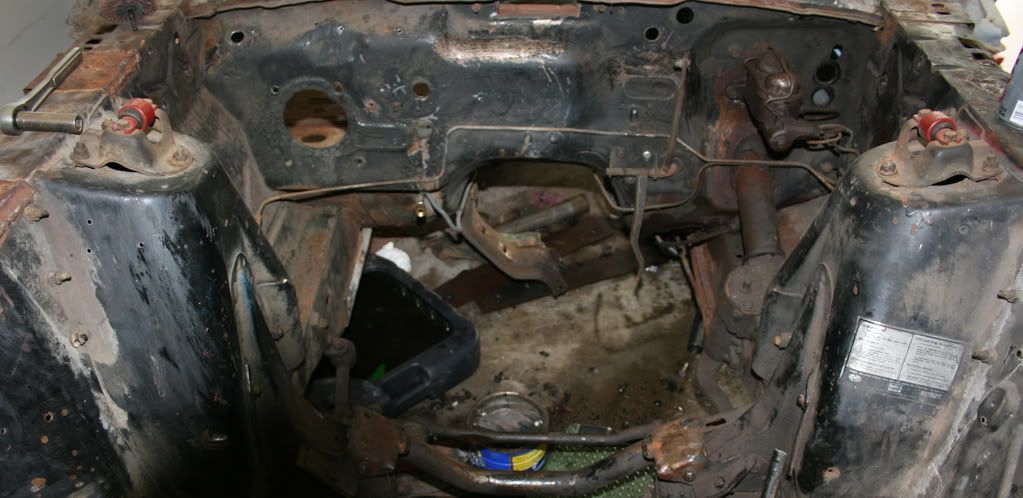
Well since I need to rustproof, prime and prep the frame rail areas, I figured I might as well redo the engine bay at the same time since I will have the Ospho and Primer. I started out with a disgustingly dirty, grimy, greasy, and surface rusted engine bay.
Tools/items used:
Lacquer Thinner
Chemical Paint stripper
Wire Wheel Cup
Drill
Paint scraper
Palm Sander
Sand Paper(60 Grit I think)
Dry Paint Brush 4 inch
Paint brush 2 inch
small tray(for the paint stripper)
Rags(for the LT)
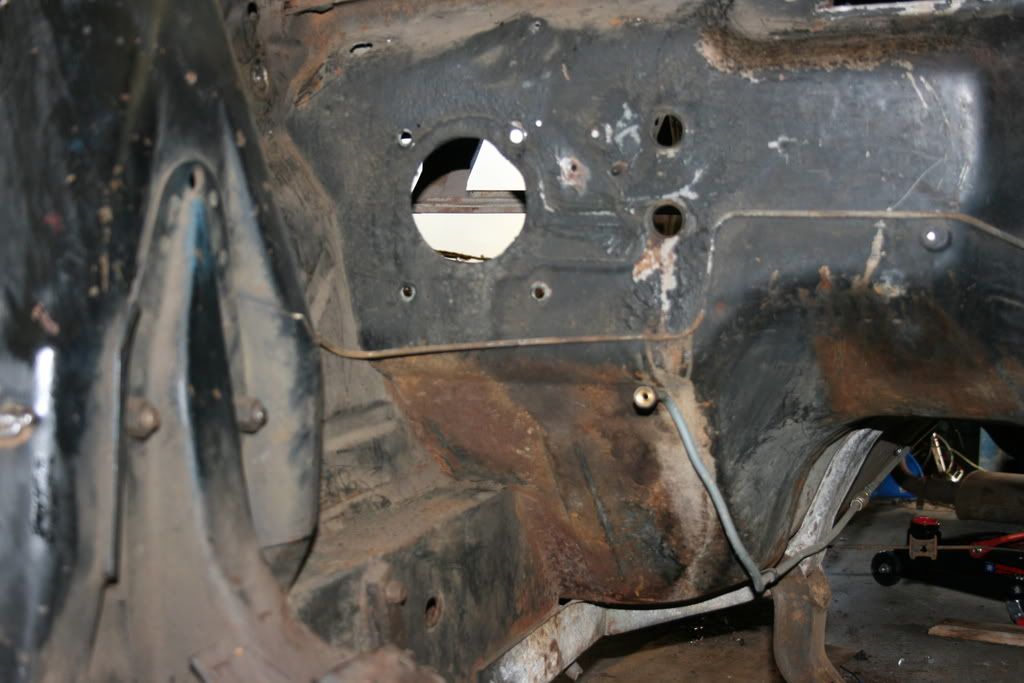
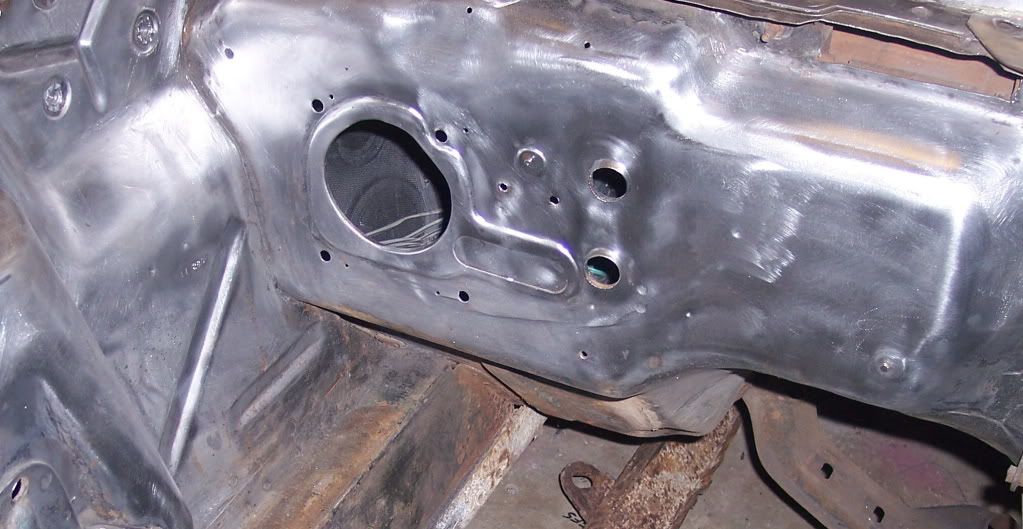
I started out by wiping down the surface with LT to get all the dust and crap off the surface. Next, I got out the tray, paint stripper, and brush. I poured the stripper on and started to brush it on. It is best to put a little thicker layer on if the area has more than 1 paint job on it. My engine bay had been painted several times from the looks of it. I started in the middle of the firewall and worked my way around to the passenger front area. I applied the stripper then allowed it about 15 minutes to work. I then took a paint scraper and scraped all the bubbled paint up. Some areas did not respond well to the stripper, so I got out the wire wheel. After wire wheeling those areas, I applied more stripper and repeated the process. This scratched the paint and gave the stripper somewhere to start. More was removed through this process. After scraping off that coat, I got out the palm sander. I sanded as many surfaces as I could get the sander to reach. Then, any area that wasnt reached very well and around firewall openings, I used the wire wheel cup to clean those areas. This worked well and is the way the rest is being done. I managed to get alot of it done, but will have to go back with regular sandpaper and MK1 Mod 0 Hands to get under the lip and around the edges of some areas. In order to properly do this, I must drop the engine crossmember. That will be done when I am complete with everything else. This process is long and dirty and painful if you get any stripper splashed onto you.....it burns....LOL Wonder how I figured that one out. Oops. I am about half way done with the engine bay strip down. I am also stripping the outside of the radiator support and fenderwells. The old undercoating is proving to be a BIATCH to remove. This is one of the best projects to do in order to make your classic show well to others. A nice looking engine bay will always turn people on to your car. Just ask Red! LOL The entire front portion will be wiped clean with LT. Then, I will be going over the bare metal with Ospho to rustproof the area. After that it will be getting a red primer, followed by a semi gloss black finish coat. This should match the factory appearance.
Before all this is done though there are a couple issues to be fixed in the area. I will be fixing the holes that were cut in the side fender support panels to lubricate the suspension parts. Those will be cut and a small patch will be butt welded in place, ground down, and finished. There is also a few holes where aftermarket brackets where screwed into the panels to hold the fuel pumps and such for the 5.0 conversion. Lastly, there was a hole cut into the firewall to allow the computer terminal for the EFI setup to be installed. That will be patched and butt welded also. Stay tuned for more information as this is completed.
Gib
PICS:
Before shot of engine bay......
Before close up of the area I am working on......
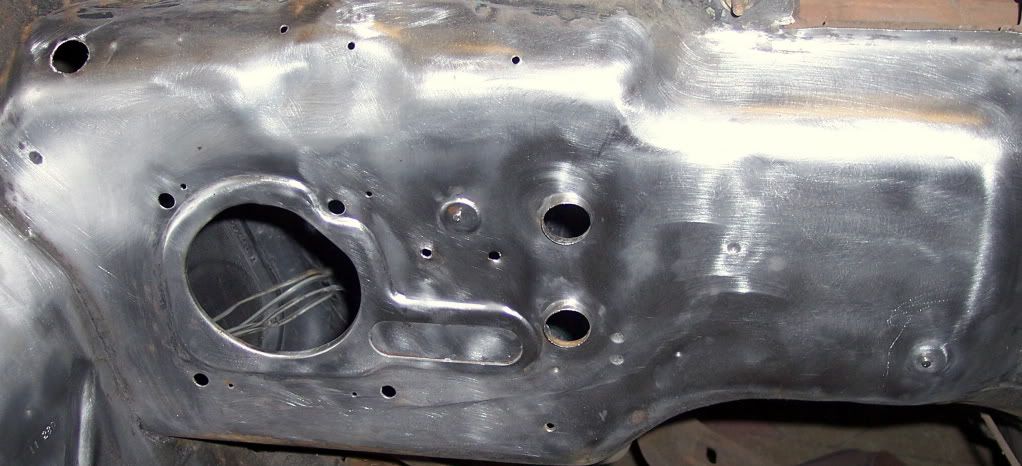
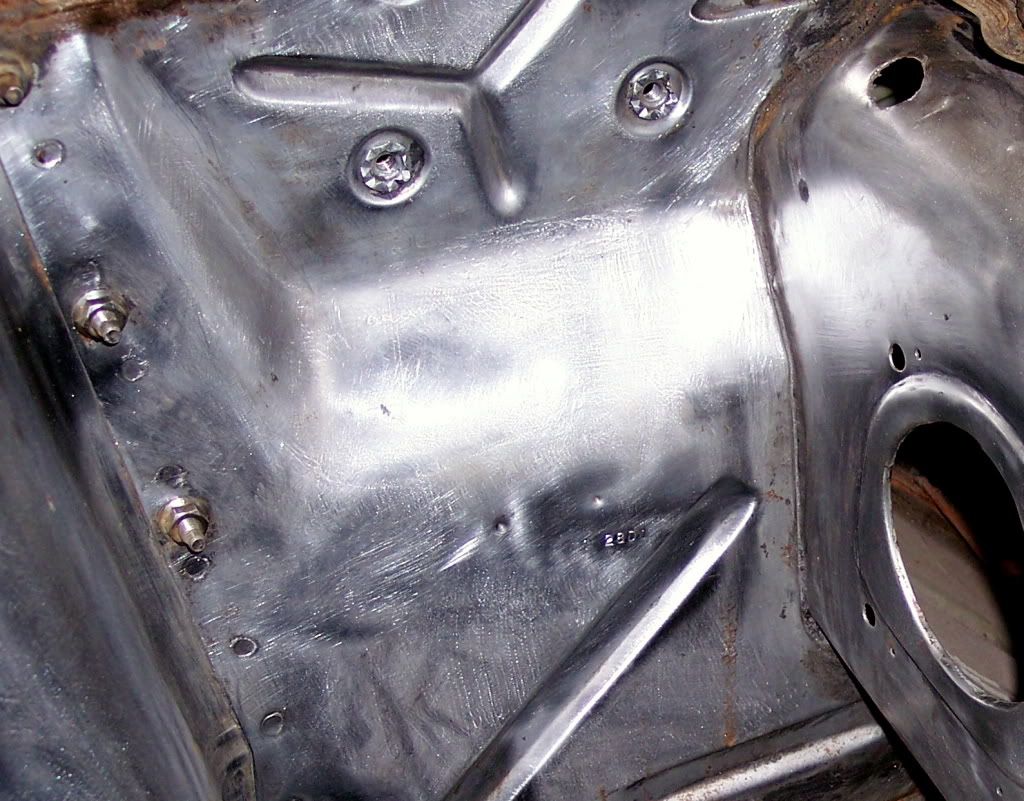
Tools/items used:
Lacquer Thinner
Chemical Paint stripper
Wire Wheel Cup
Drill
Paint scraper
Palm Sander
Sand Paper(60 Grit I think)
Dry Paint Brush 4 inch
Paint brush 2 inch
small tray(for the paint stripper)
Rags(for the LT)
I started out by wiping down the surface with LT to get all the dust and crap off the surface. Next, I got out the tray, paint stripper, and brush. I poured the stripper on and started to brush it on. It is best to put a little thicker layer on if the area has more than 1 paint job on it. My engine bay had been painted several times from the looks of it. I started in the middle of the firewall and worked my way around to the passenger front area. I applied the stripper then allowed it about 15 minutes to work. I then took a paint scraper and scraped all the bubbled paint up. Some areas did not respond well to the stripper, so I got out the wire wheel. After wire wheeling those areas, I applied more stripper and repeated the process. This scratched the paint and gave the stripper somewhere to start. More was removed through this process. After scraping off that coat, I got out the palm sander. I sanded as many surfaces as I could get the sander to reach. Then, any area that wasnt reached very well and around firewall openings, I used the wire wheel cup to clean those areas. This worked well and is the way the rest is being done. I managed to get alot of it done, but will have to go back with regular sandpaper and MK1 Mod 0 Hands to get under the lip and around the edges of some areas. In order to properly do this, I must drop the engine crossmember. That will be done when I am complete with everything else. This process is long and dirty and painful if you get any stripper splashed onto you.....it burns....LOL Wonder how I figured that one out. Oops. I am about half way done with the engine bay strip down. I am also stripping the outside of the radiator support and fenderwells. The old undercoating is proving to be a BIATCH to remove. This is one of the best projects to do in order to make your classic show well to others. A nice looking engine bay will always turn people on to your car. Just ask Red! LOL The entire front portion will be wiped clean with LT. Then, I will be going over the bare metal with Ospho to rustproof the area. After that it will be getting a red primer, followed by a semi gloss black finish coat. This should match the factory appearance.
Before all this is done though there are a couple issues to be fixed in the area. I will be fixing the holes that were cut in the side fender support panels to lubricate the suspension parts. Those will be cut and a small patch will be butt welded in place, ground down, and finished. There is also a few holes where aftermarket brackets where screwed into the panels to hold the fuel pumps and such for the 5.0 conversion. Lastly, there was a hole cut into the firewall to allow the computer terminal for the EFI setup to be installed. That will be patched and butt welded also. Stay tuned for more information as this is completed.
Gib
PICS:
Before shot of engine bay......

Before close up of the area I am working on......


